The YouTube player loads when you press Play.
Poyasilon Solar Camera: Two Mounts and a Separate USB-C Panel
Opening the camera kit and looking at the mounting and storage options.
Article published November 4, 2026.
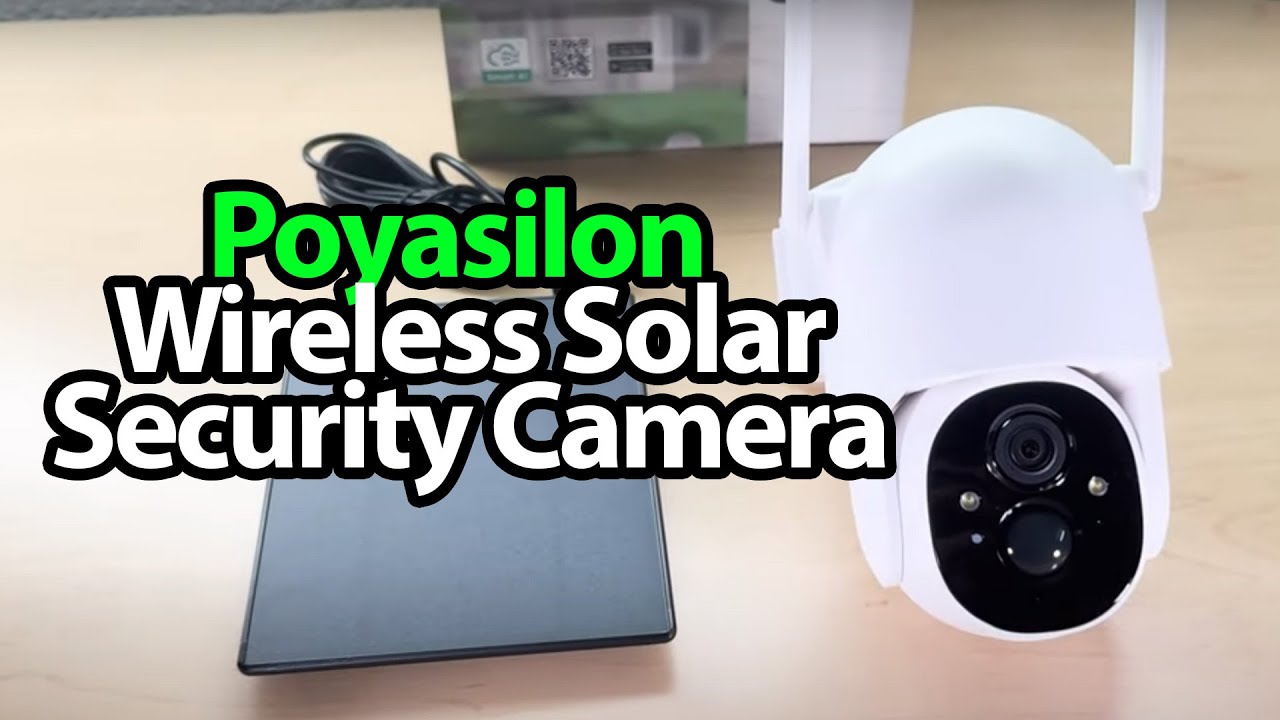
There are two things to find a place for in this Poyasilon kit: the camera and its solar panel. I open the package to see how those pieces mount and connect.
The panel has its own adjustment
I take out the manual, then the panel with its USB-C cable and mounting point. There is an adjustable mount for it, separate hardware for the camera and the screws needed for the brackets.
That separation is the useful part to think about before installation: the panel’s position and the camera’s view are two different decisions.
Look inside the storage compartment
I unpack the camera, raise its antennas and open the small compartment with the power controls and microSD slot. I discuss local recording and the alternative of a cloud plan.
I do not sign up for that plan or verify its current price, retention period or privacy terms. My tentative comments in the recording are not a guarantee of what a service includes today.
A hardware introduction
The discussion covers movement, solar charging and detection features, but I do not run an installed camera test, measure charging output or compare night footage here.
A later VIZIUUY separate-panel unboxing shows another version of that mounting idea. It is a different camera, without a head-to-head performance comparison in this session.
The original product link is below. The original outro credit also supplies http://eme7.com/.
Links from the video
Affiliate disclosure: These links may earn me a commission at no extra cost to you.
Links and offers are from the video description. Availability, prices and offer terms may change.
Some links to other products on this page are affiliate links, and we may earn a commission if you buy through them. It costs you nothing extra, and it has not changed what this article says — where a competitor is the better answer, we say so.