The YouTube player loads when you press Play.
Making a Latte with the OutIn Grinder and Nano: The Actual Brew Demo
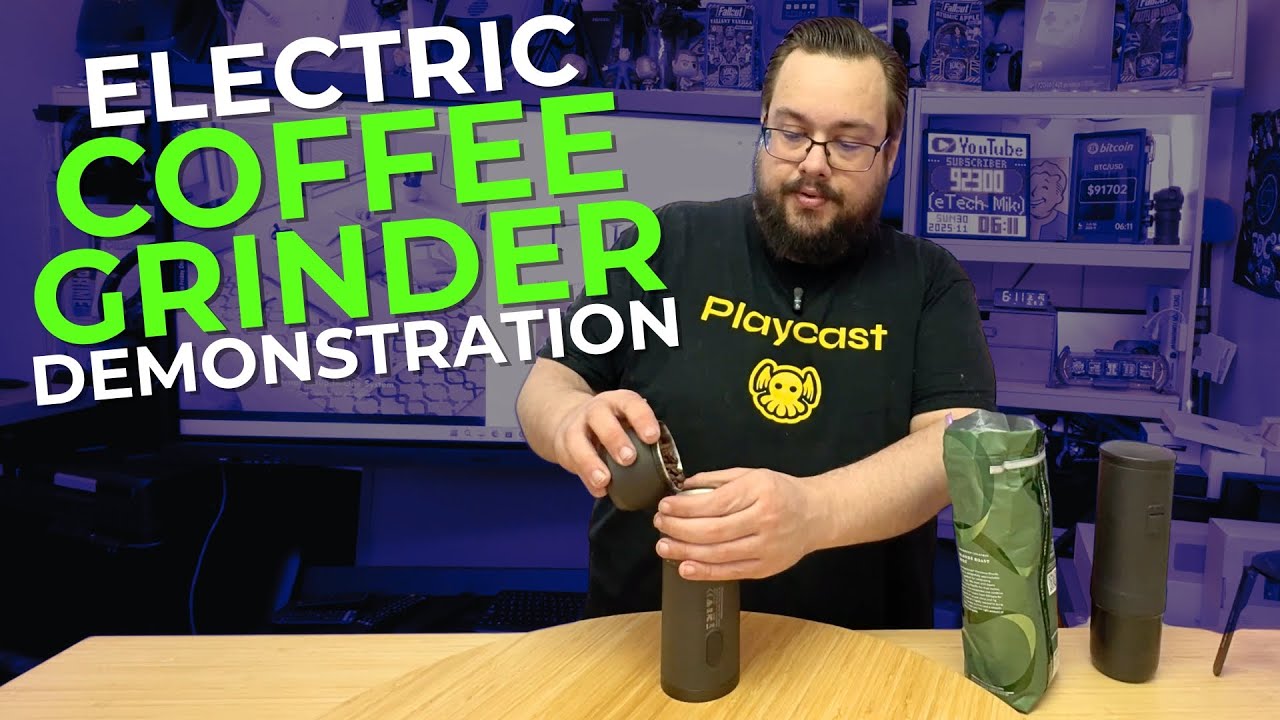
Freshly ground coffee, the portable brewer and a stand that made the little station easier to use.
Article published November 3, 2026.
I finally had whole coffee beans this time. That meant I could put the OutIn grinder and Nano together and actually make the drink, instead of stopping at the unboxing.
OutIn sent this setup for the videos. Here I ground the coffee, loaded the Nano, brewed a shot and turned it into a very enthusiastic little latte. There may have been slightly too much milk.
Start with the grind
I set the grinder to three before adding the beans. That was the setting I had chosen for this Nano demonstration, rather than a claim that the same number is ideal for every coffee and brewing method.
After closing the grinder and starting it, I opened the lower container to show the coffee. It looked fine and fluffy, and now I had something to put into the Nano's basket.
If you want to see the parts and controls before this step, my OutIn grinder and stand unboxing covers the earlier setup. It also includes the moment I realized the coffee I had brought was already ground.
Load the Nano and add water
I removed the lower section, filled the coffee basket, reassembled it and added water to the marked fill line. Then I held the button until the beep and let the machine get on with the heating and brewing.
In the video, I described the wait as about 120 seconds. That is the timing I discussed for this demonstration, not a controlled comparison across starting water temperatures, battery levels or different recipes.
The stand earns its place
The stand kept the Nano over the cup while it dispensed. That sounds like a small accessory, but it made the little station feel much easier to use than having to hold the brewer up myself.
Once I had the espresso, I added sugar, milk and some froth. I managed to get milk where it did not need to be, cleaned up and finished the drink anyway.
Coffee at the desk, not just on a trip
Camping and travel are obvious ideas for a kit like this. I also liked the idea of taking it to work and making a fresh drink there.
This was one real brew demonstration, with my own coffee and taste preferences. The video shows the process and result; the original links below let you check the current grinder, brewer and stand listings.
Links from the video
Affiliate disclosure: These links may earn me a commission at no extra cost to you.
- OutIn original Amazon link 1
- OutIn original Amazon link 2
- OutIn original Amazon link 3
- Playcast Pavilion original referral link
Links and offers are from the video description. Availability, prices and offer terms may change.
Some links to other products on this page are affiliate links, and we may earn a commission if you buy through them. It costs you nothing extra, and it has not changed what this article says — where a competitor is the better answer, we say so.