
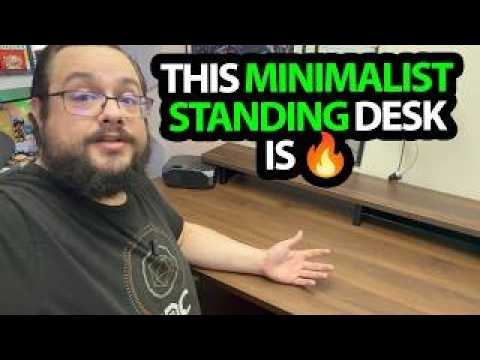
The YouTube player loads when you press Play.
Building My Vernal Space Setup: A Standing Desk and Somewhere for the Clutter
The filing-cabinet build, standing desk and storage details that helped the office setup come together.
Article published November 3, 2026.
A clean desk setup is great. Having somewhere for the paperwork, cables and all the other stuff that normally ends up on the desk is even better.
For this Vernal Space setup, I started by assembling the filing cabinet and then walked through the standing desk, desktop shelf and storage unit together. Vernal sent the furniture for the video, and there were a few assembly details I really appreciated.
Start with the filing cabinet
The cabinet arrived with substantial foam and cardboard protection. Inside were the hardware, casters, locking key and even a screwdriver, so I could start putting it together with the supplied parts.
I worked through the enclosure and drawers, then showed the completed cabinet. One detail worth looking for in the video is the extra wheel supporting the front drawer. It was not just another caster on the cabinet body.
I liked the finished colors and how sturdy the assembled cabinet felt. That is my impression from this build, rather than a quantified load or long-term durability test.
The standing desk assembly details
The desktop and motorized stand came in separate boxes. I recommended having two people for the installation because of the weight.
The labeled hardware and small guide tools made the process easier to follow. I also liked the preinstalled metal threaded inserts in the desktop. With the supplied arrangement, I was fastening into those inserts rather than drilling my own mounting holes into the wood.
The control panel could be mounted on either side. I chose the right side for my setup, but that is a useful decision to make around where you actually sit and reach.
Storage above and below the desktop
The desktop shelf gave me a place for a monitor, with a pull-out metal tray underneath. I pointed out that the tray and the main shelf have different load ratings; the walkthrough did not establish either one through load testing.
Below the desk, I showed another storage unit with pull-out sections. Putting those pieces together gave me more places to organize equipment without covering the working surface.
The desk also had a cable tray underneath and options for hanging a headset. I had not finished routing every cable or choosing the permanent location yet, so the tour shows the setup in progress.
Leave room for the setup to grow
I demonstrated raising and lowering the desk, then talked through a simple arrangement with my laptop, projector, mouse and controller. Portable monitors and a USB hub were ideas for the next stage, rather than a completed configuration in this video.
I was really happy with how the pieces looked together. The original description also mentions the later Core3 desk, so check which model a current shop listing actually offers. The sale discussed during filming was historical. The description also refers to a discount code in the video. Use the original US and UK shop links below to check the current model and offer terms.
Links from the video
Affiliate disclosure: These links may earn me a commission at no extra cost to you.
Links and offers are from the video description. Availability, prices and offer terms may change.
Some links to other products on this page are affiliate links, and we may earn a commission if you buy through them. It costs you nothing extra, and it has not changed what this article says — where a competitor is the better answer, we say so.